An island bridge tour looks simple on paper: walk out, look down, take a photograph, walk back. Then the weather arrives. Islands make their own conditions. A squall can cross a bay in twenty minutes, wind funnels through an arch and turns a calm crossing into a gripping one, and sun reflected off water hits twice as hard as sun on a pavement. None of that should stop you. It just means the bag you carry matters more than the itinerary. Here is what earns its place, and what can stay at the hotel.
Start With Your Feet
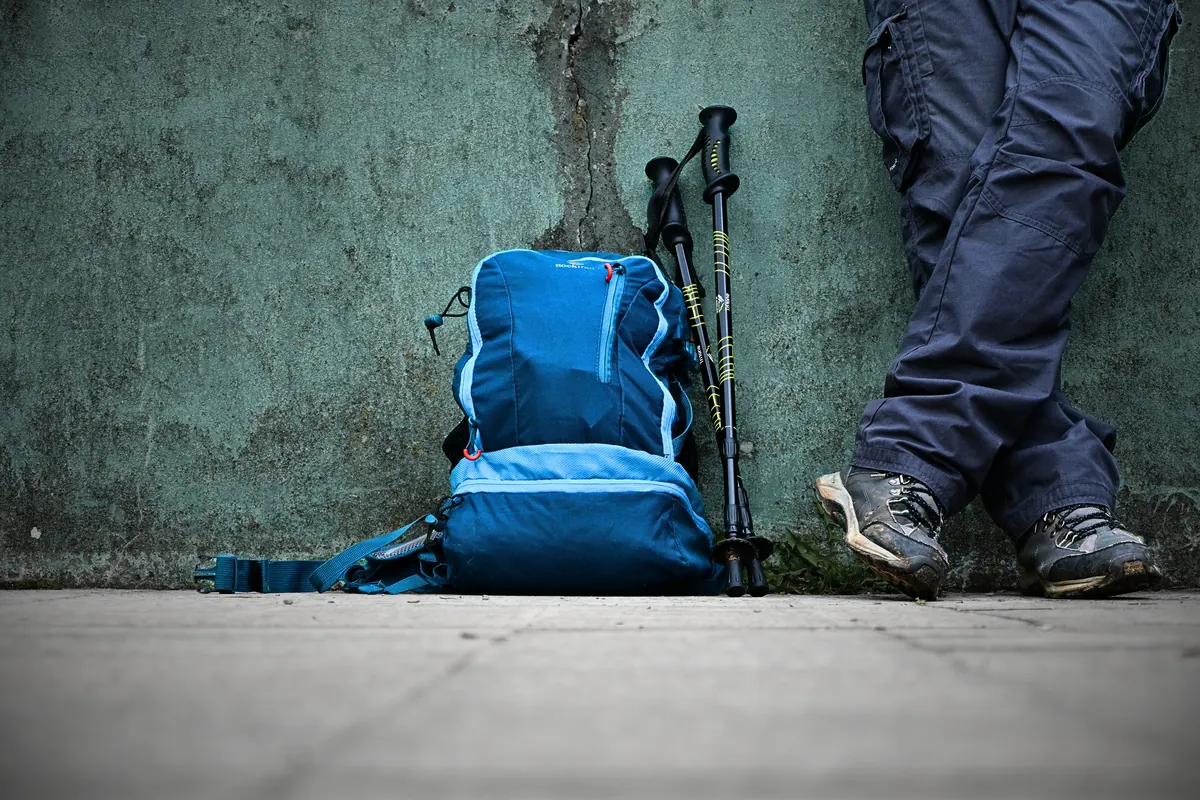
Most bridge tours are walking tours with interruptions. The crossings themselves might be sixty metres each, but the walking between them is often a kilometre or two of cobbles, gravel paths, quayside concrete and uneven stone steps with no handrail. Your shoes need to handle all of it, not just the photogenic part.
Grip is the first consideration, and the surfaces are not what you expect. Old bridge decks are worn smooth in the middle, iron grilles get slick, and coastal stone takes on a glaze of salt that behaves like a light film of oil even when it hasn't rained for days. Smooth leather soles and sneakers with worn-down tread are the wrong choice. A rubber sole with a real pattern is the right one.
Sandals with a heel strap are fine for dry, paved routes in high summer and much cooler than boots. Flip-flops are for the beach and the shower. If your route includes steep approaches, a few rickety wooden walkways or long stretches of rough paving, ankle support pays for itself by mid-afternoon.
Two small habits worth adopting
Break your shoes in before you travel, not on the trip. And pack a spare pair of socks in a small dry bag. Wet feet blister quickly, salt water makes it worse, and a dry pair weighs almost nothing. Changing socks at lunch is the cheapest comfort upgrade on any walking day.
Rain Gear for a Sky That Changes Its Mind
Island weather is less about whether it will rain and more about when, and from which direction. A packable waterproof shell with a hood that stays up is the single most useful item in your bag, and it doubles as a wind layer on an exposed crossing even when the sky stays clean.
Leave the umbrella at home. On a bridge it becomes a liability: wind grabs it, it blocks your view of the rail, and on wet stone stairs you want both hands free. Quick-drying trousers beat denim, which stays heavy and cold for hours after a shower.
What belongs in the wet-weather pocket of your day bag:
- A lightweight waterproof shell, packed small enough to forget you have it
- One or two dry bags, or zip-top pouches, for phone, camera and spare socks
- A small microfibre towel, which also wipes spray off a lens or a bench
- A light cap with a brim, useful for drizzle as well as sun
- A bag for wet gear, so the rest of your pack stays dry
Sun Protection Is a Different Problem on a Bridge
On an open crossing there is no shade and no escape. Add water below you reflecting light upward and you get roughly double the exposure of walking the same distance through a town. People who never burn at home come back from island bridge walks with red ears and a red nose.
A wide-brimmed hat with a chin strap is worth more than any cream, because wind will remove a loose hat within seconds. Polarised sunglasses cut the glare off the water and let you actually see the arches below. Cover the places people forget: ears, the back of the neck, the tops of your feet if you're in sandals, and the backs of your hands, which sit on hot stone rails for much of the day. SPF lip balm belongs in a pocket, not at the bottom of the bag.
Reapply sunscreen every couple of hours and after any spray. If you take medication that increases sensitivity to light, or you burn very easily, ask a pharmacist or doctor before you travel about what protection suits you.
Water, Salt and Something to Eat
Wind and salt dry you out before you notice thirst. A steady breeze on a bridge feels cool, so you sweat less visibly than you would inland, and then you wonder why you have a headache at four in the afternoon. Carry at least a litre of water per person for a half-day route, and more in July and August.
Refill where you can, at fountains and cafés, but don't build a plan around them. On outer stretches and out of season, taps and open bars are sparse. If it's genuinely hot, an electrolyte tablet in one bottle is a sensible addition.
Food matters as much as water. Island shops and cafés keep odd hours, especially at midday and outside the summer months, so carry something simple: bread, fruit, nuts, a couple of biscuits. Eat before you're hungry. A blood-sugar dip on a windy quay with the next bridge twenty minutes away is a small misery you can skip entirely. Keep snacks sealed, and not because of the weather.
Camera Gear That Survives Salt Spray
Salt is the quiet enemy of every bridge photograph. It etches lens coatings, stiffens zoom rings and leaves a haze on filters that looks like a focusing fault. A few habits keep your kit working.
Carry two microfibre cloths in a sealed pouch and brush loose grit off a lens before you wipe it, or you'll grind sand into the glass. Keep silica packets in the camera bag. Bring a spare battery: heat drains them and so does a cold wind, and the shot you want is usually the one after the warning icon appears. Never change lenses on an exposed bridge. Step into the lee of a wall, a shelter or a doorway, or wait until you're back on solid ground.
Use a proper neck or wrist strap, and hold the camera over the deck rather than the water. Wind on a bridge can take a light body off a railing faster than your hand follows. Your phone deserves the same treatment: a waterproof pouch, a wipe at each stop, and a polarising filter if your phone case takes one, since it cuts glare and reveals the structure under the surface. A short note on tides and the time of day helps too; low sun and low water make the best bridge photographs, and both are predictable.
Pack the Night Before, Then Travel Light
Lay everything out the evening before, put it in the bag and walk around the room with it. If you can't hold a handrail for a minute with the bag on your shoulder, it's too heavy. Check the forecast and the tide times, and pay more attention to wind direction than to the percentage chance of rain; on a crossing, wind decides how pleasant the day feels.
Adjust by season: a warm mid-layer, thin gloves and a hat in winter; more water and less clothing in summer. And trust the simplest test of all. Whatever you didn't use yesterday is the thing to leave behind today.
Photo: Ivan Antic Fotkalo / Pexels