A bridge tells you how it works before you read a single plaque. Stand at one end, look along the parapet, and the shape gives away the whole argument: whether the load is being pushed, bent or hung. On an island this matters more than inland. The crossings are short, the channels are narrow, and the same few metres of water get spanned again and again by structures built decades or centuries apart. Learning to read the difference between an arch and a beam takes about ten minutes. After that, every walk down to the harbour becomes a small exercise in looking.
Two shapes, two arguments
Every bridge is a conversation with gravity, and the two great families answer in different grammar.
An arch bridge curves. The load comes down onto the crown, and the curve carries it sideways and down into the supports at each end. That is why the most important part of an arch bridge is often the part you cannot see: the abutments, the wing walls, the slope or rock the whole thing leans into. Stone and brick are heavy and strong in compression, so an arch suits them perfectly.
A beam bridge is straight. A deck lies flat across a gap and bends under whatever crosses it. The top of the deck squeezes together, the bottom stretches, and the ends press down on whatever holds them up — piers, walls, abutments. That is why a beam bridge shows you its supports so plainly.
An arch hands its load to the ground in a curve; a beam takes the load on its back and bends.
Keep that sentence in your pocket. Most of what follows is just learning where to look to confirm it.
Reading an arch from underneath
The best place to study an arch is from the water side, or from a bank where you can see the underside. You are looking for a curve, but also for the joints.
In a masonry arch the stones are wedge-shaped, laid in a ring so that they press against one another. The stone at the very top — the keystone — is the one everybody photographs, though it is not doing more work than its neighbours; the ring works as a group. Between the curve and the deck above sits the spandrel, sometimes solid rubble, sometimes hollow. When an arch is one of several in a row, the piers between them mostly carry downward load, which is why a long masonry viaduct can look surprisingly slender in the legs.
Then look at the ground. An arch leans outward at its feet, and something has to resist that push. On the island you will see it as thick banks, stepped wing walls, or an arch springing straight out of rock. When a bridge looks as if it grew out of the cliff, that is not romance — it is engineering finding the cheapest abutment available.
Reading a beam from the roadside
A beam bridge is easy to underestimate because it looks like nothing. A flat deck, a straight edge, a rail on top. From the road, that is all you get. From the side, the structure becomes legible.
Look for depth. A deck is usually deepest where the bending is greatest, near the middle of an unsupported span, and shallower towards its supports. Look at the ends of the deck. On a modern beam bridge the deck is not locked into the bank; it rests on bearings, with small gaps called expansion joints that let it grow in heat and shrink in cold. Those thin dark slots in the road surface at either end of the crossing are the giveaway.
And count the supports. Beams become more efficient as spans get shorter, so a beam bridge tends to sit on a row of piers, sometimes close together like a line of posts. A concrete slab hides its reinforcement, but you can infer it: steel sits near the bottom face, where the stretching happens. A steel girder shows the same logic in its shape, with a deep web and a broad bottom flange.
Six cues you can use at a glance
- The underside over the water. A continuous curve means arch. A flat soffit means beam.
- The line of the deck. A long, level straight run points to beam. A hump in the middle, or a parapet that steps up and over, points to arch.
- What the ends push against. Heavy abutments, wing walls and rock faces suggest an arch is thrusting into them.
- Joints in the road. Dark slots and metal plates at both ends of the deck suggest bearings — a beam.
- The stonework. Wedge-shaped stones in a ring are an arch, full stop. Flat, rectangular courses are likely a wall doing something else.
- The number of piers. Many closely spaced supports usually mean a beam. Few supports and wide spans suggest arches.
Three places to practise on the island
The old crossing in the upper town
Where streets were laid out for carts and mules, bridges were built in stone, and stone wanted an arch. Stand on the lower path and look up at the curve; then find where the arch springs from. The answer is usually a wall, a buttress or a rock face, and seeing it explains the shape above.
The flat deck at the harbour mouth
Modern traffic wants a flat grade, and a flat grade wants a beam. Walk to one end of the parapet and find the joint, then look along the edge of the deck for the line of piers beneath. Two minutes of looking here will teach you more than a page of theory.
The little footbridge on the coastal path
Small scale is the best classroom. A plank over a gully is a beam, working exactly like a motorway viaduct. A single small stone arch over a drain is an arch, thrusting into the path on either side. Same argument, smaller, and you can see all of it at once.
When the two disguise themselves
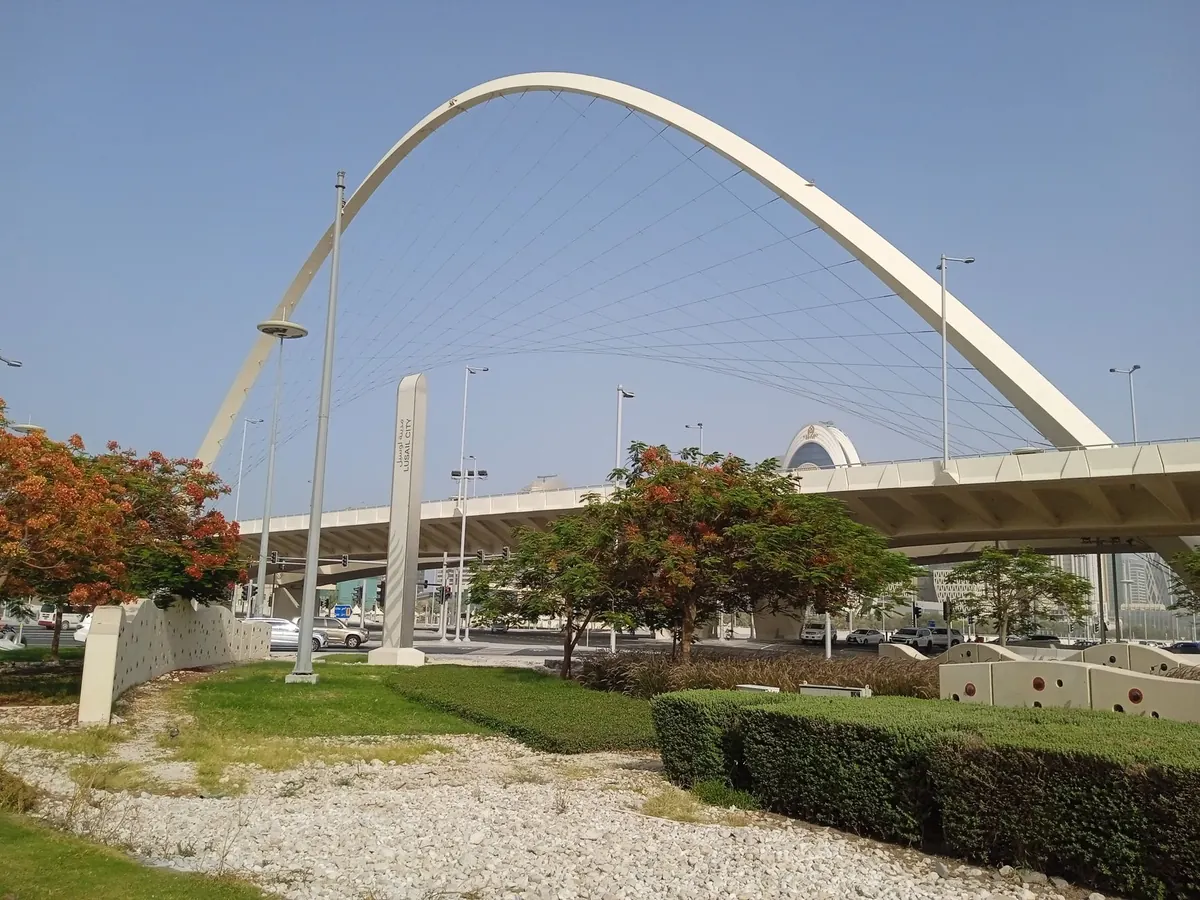
Not every curve is structural. Plenty of modern bridges carry an arched facing panel purely as decoration, with a straight concrete beam doing the real work behind it. The clue is at the feet: if the arch outline stops short of the ground, or floats above a flat soffit, it is a picture of an arch rather than an arch.
The tied arch is another case worth knowing. Here the arch is real and in compression, but a straight member connects its two feet and takes the outward pull, so the banks no longer have to resist the thrust. Corbelled openings, where each course of stone steps out a little further than the last, also look arched and are not; they are a stack of overlapping beams in stone clothing.
A ten-minute walk that will teach you the rest
Pick a crossing you use often and give it a proper look. Stand at one end and follow the line of the deck with your eye. Find the joints, or satisfy yourself that there are none. Count the piers. Then walk to the side and find the underside, and sketch the silhouette on the back of a receipt. Do the same at the next bridge along the shore and compare the two drawings; the difference will be obvious in a way that words struggle to match.
One last habit worth keeping. If a bridge looks wrong — a deck that sags, wide cracks, missing stones in a ring, exposed reinforcement — do not test it yourself. Note the location and report it to the local authority. Reading a structure is a pleasure; trusting a doubtful one is not.
Photo: Samuel Gitahi / Pexels